Chatgpt-next-web使用aurora项目- 实现免费GPT3.5 API
跟着本文,让你Chatgpt-next-web免费使用官方GPT3.5,实测速度挺快
Aurora项目https://github.com/aurora-develop/aurora
#需要一台vps(如ak能解锁chatgpt访问),进入ssh(已有docker)后执行下面代码
- docker run –restart=always –name aurora -d -p 8080:8080 ghcr.io/aurora-develop/aurora:latest
复制代码
*8080:8080,左边的8080代表项目对外端口,可修改为其他
*OpenAI禁止的ip范围包括大部分机房+港澳,解决方式是使用这个带网关解锁(实测香港阿里能用)
- docker run –restart=always –name aurora -d -p 8080:8080 -e BASE_URL=”https://auroraxf.glitch.me/api” ghcr.io/aurora-develop/aurora:latest
复制代码
然后输入测试代码看解锁情况
- curl –location ‘http://127.0.0.1:8080/v1/chat/completions’ \
- –header ‘Content-Type: application/json’ \
- –data ‘{
- “model”: “gpt-3.5-turbo”,
- “messages”: [{“role”: “user”, “content”: “Say this is a test!”}],
- “stream”: true
- }’
复制代码
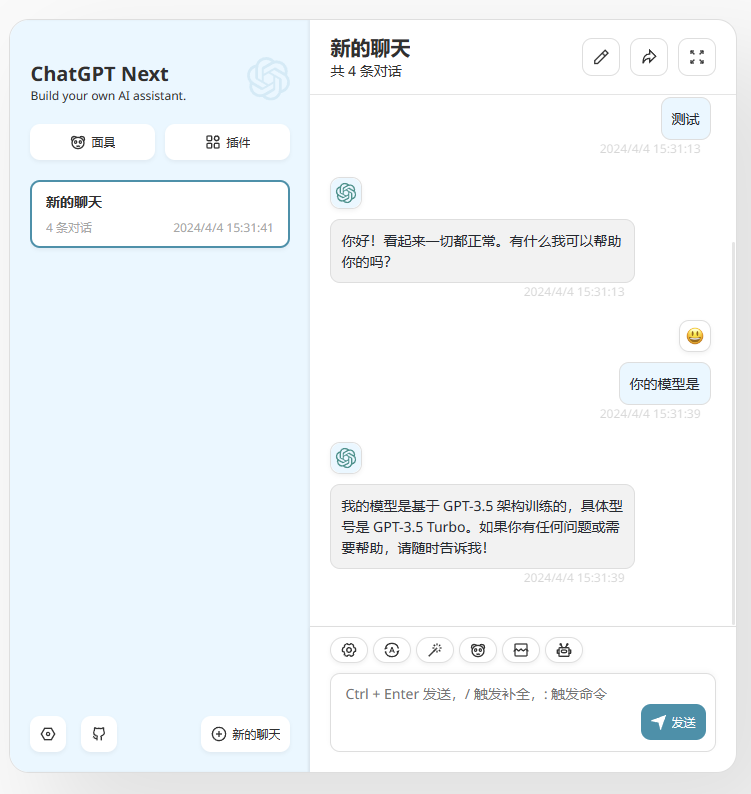
底部提示DONE=项目正常。不能返回结果可能ip问题或未解锁
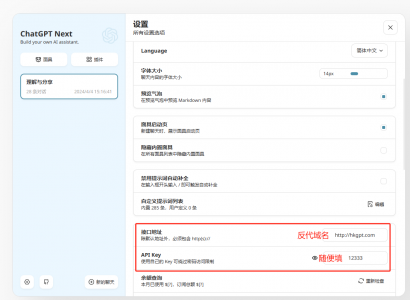
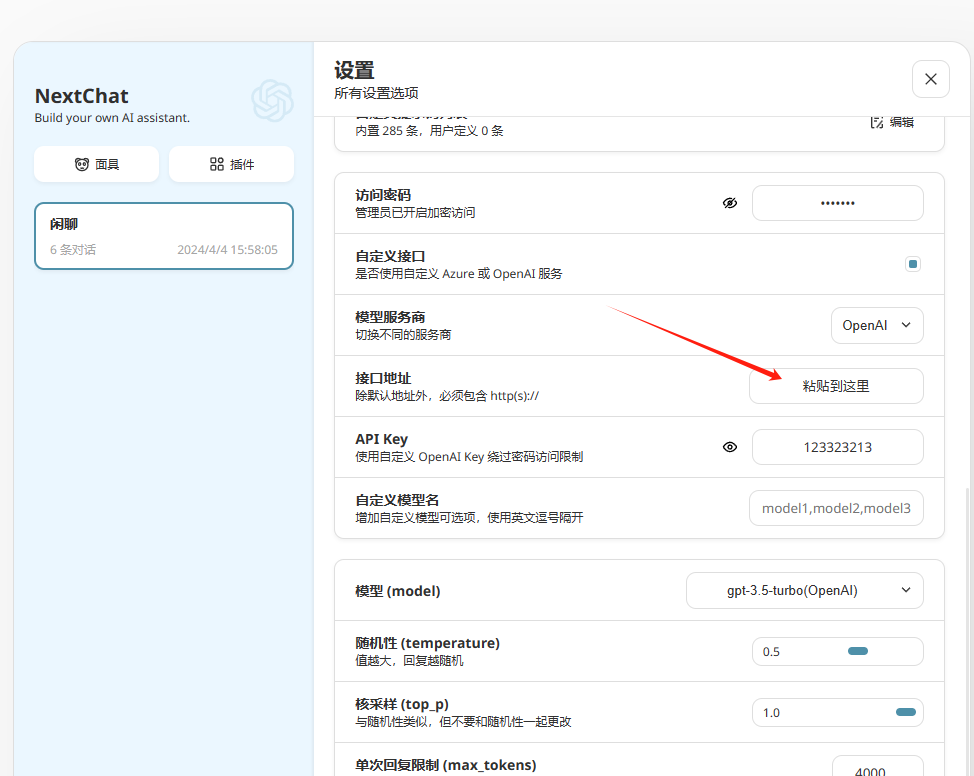
#ChatGPT-Next-Web打开选项,红框-接口地址输入上面你的ip:8080如http://54.70.82.53:8080 或 反代域名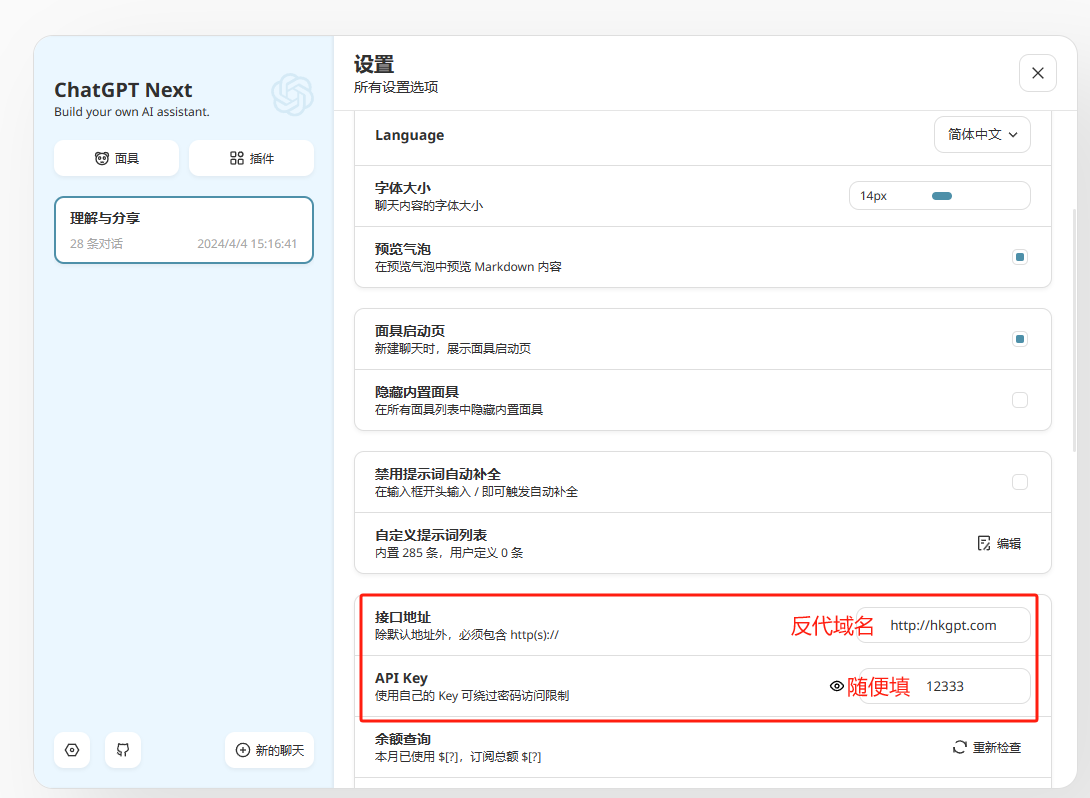
==================完结===============================
**开箱即用-集成对接api的Chatgpt-next-web
- docker run –restart=always –name chatgpt-next-web -d -p 3000:3000 -e BASE_URL=”http://54.70.82.53:8080″ -e PROTOCOL=”http” yidadaa/chatgpt-next-web
复制代码
docker-compose.yml
- version: ‘3.3’
- services:
- chatgpt-next-web:
- ports:
- – ‘3000:3000’
- environment:
- – OPENAI_API_KEY=123E5F
- – BASE_URL=http://反代域名
- image: yidadaa/chatgpt-next-web
- container_name: chatgpt-next-web
- restart: always
复制代码
——————————————————————–
render部署会休眠,所以这一部分放在下面尝鲜
拖到Aurora项目中间https://github.com/aurora-develop/aurora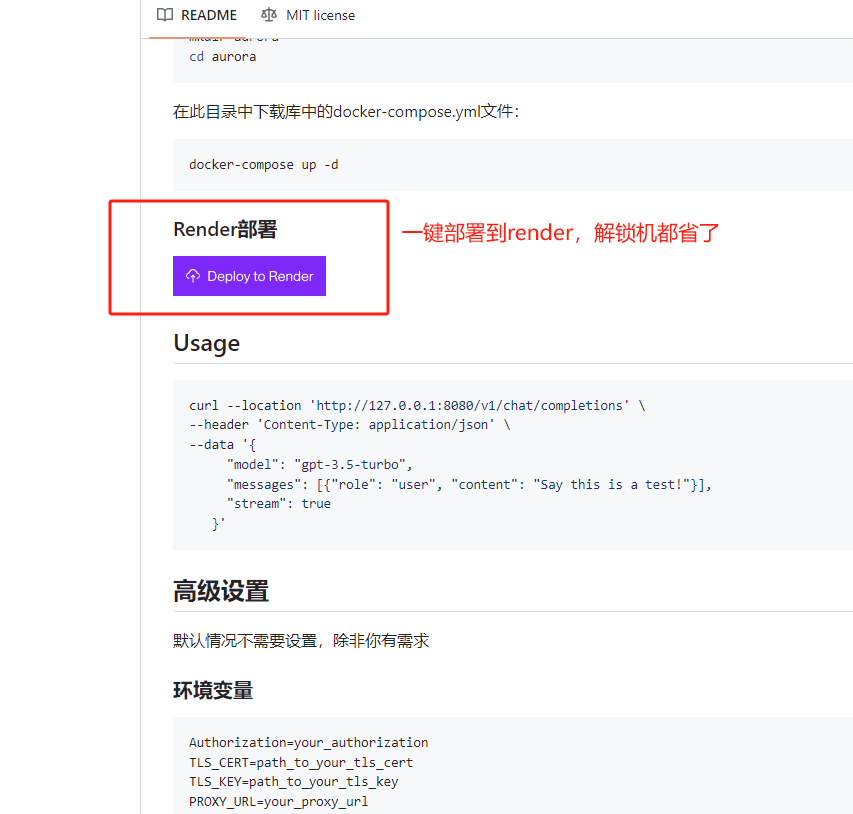
一路下一步注册render部署-选择personal use不用绑卡– 项目随便起个名
等5分钟部署好,复制Render送你的域名,粘贴进去Chatgpt-next-web对应位置,API KEY随便填些数字,搞定!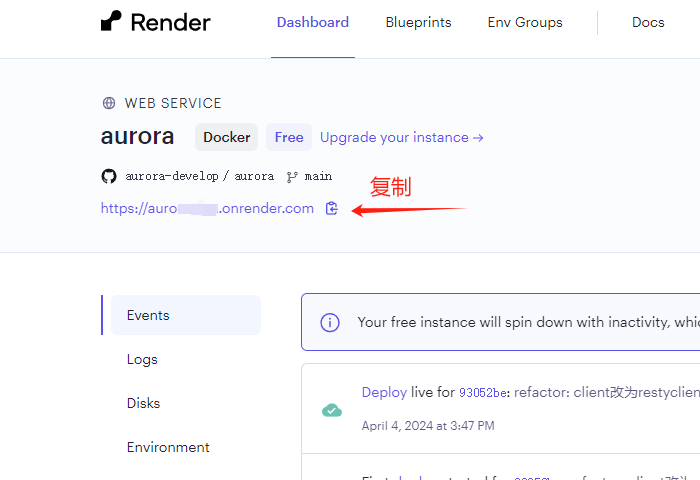
感谢:
https://linux.do/t/topic/47041 (其实这里有2个公益api反代一下可拿来用)
https://hostloc.com/thread-1291499-1-1.html
搭建chatgpt-next-web可阅读这里 https://www.xiaoran.de/posts/chatgpt-next-web